
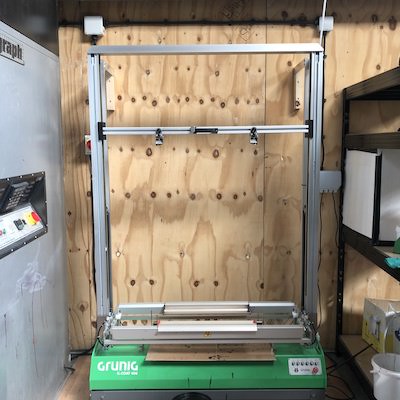
Now that we’ve covered how to clean your screen printing emulsion, whether you’re a new entrant to the market or you’ve been around for a while, Innotex Transfers can provide you with innovative machinery with capabilities of 400 prints an hour! If you’ve got any questions or would like us to do the leg work, get in contact with us!


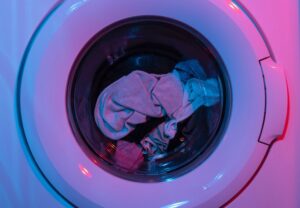
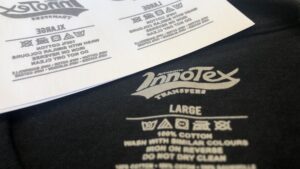
How to Wash Printed T-shirts: Aftercare Instructions
Previously we’ve covered various topics surrounding printing on t-shirts. Some being avoiding dye migration and even managing the artwork itself before
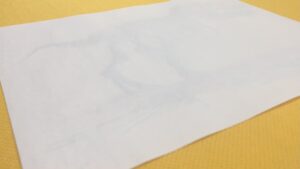
Transfer Paper For Heat Press Machine
Transfer paper for a heat press machine is vital to ensure your print comes out in high quality, smooth finish.
A Beginner’s Guide to Clothing Labels
Are you a small business owner, or have you always wanted to start your own independent clothing brand? Imagine putting