Ever wondered how to heat press? It’s actually pretty simple and to be honest, anyone can do it, pretty much anywhere! From your home to a full-on production warehouse, the job can be done. We’ll cover everything you need to know about how to use a heat press machine for t-shirt printing. Also, we’ll discuss how to produce high quality finishes on your t-shirts by using a step by step method.
There are 4 different heat press machine types you can use (we’re using a swing away machine). If you’d like to understand more about the different types of machines, check out our ‘ultimate guide to heat press machines’! , You might even be able to work out which one you have if you don’t know.
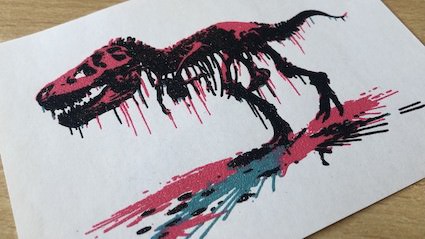
Step 1 – Grab Your Chosen High-Quality Image
If you’re going to create multiple sized designs, we recommend using a software that works with vectors rather than bitmap (pixels). This is because it’ll keep your quality at the best visuals. An example of this software is Adobe Illustrator. If you’re unsure of how this works, check out our blog on “Working with Vector Files”. For example, if your image is a photograph, set your printer to ‘scan’ and follow the instructions on your printer. Your image should be available in JPEG or PDF format.
(If you’re printing on a light-coloured garment, reverse/mirror your image using the tools on your selected application. Dark garments don’t need the white surface and DO NOT need reverse-image printing).
Step 2 – Print Your Chosen Image on the Transfer Paper
Now that your design is ready, place the transfer paper where you would usually place your printer paper. But be sure to double check you’re happy with the quality. Also make sure the design will fit on your t-shirt. To print, you’ll need either an inkjet printer or laser printer. We recommend inkjet as the best type of printer to use for colour photos.
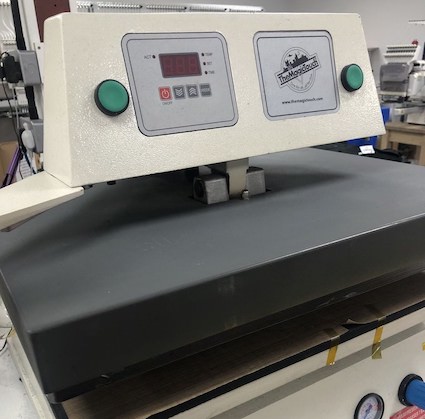
Step 3 – Turn On Your Heat Press
A heat press can take time to heat up – it’s not an immediate set-up. Therefore, we recommend you turn on your heat press and set it to the required temperature well before you’re ready. Select a temperature between 155-165ºC. (you might notice the temperature fluctuates slightly when it has been set, but that’s normal). If you are confused about which type of heat press machine to use, read our blog on the ultimate guide to heat press machine.
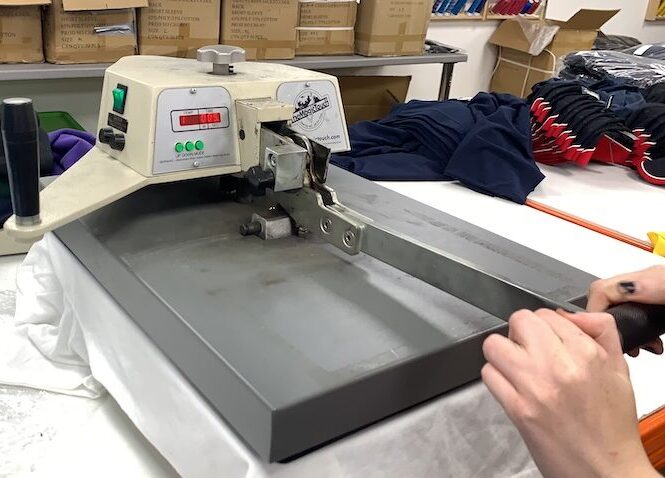
Step 4 – Cut Out Your Designs Accurately
If you’d like a really precise cut like me, I personally recommend a craft knife. You can cut it very finely or leave a bit of space around the edges. We recommend leaving at least an inch so you don’t risk cutting through the design. You can also use the edges as guidelines when placing the design on the t-shirt.
Step 5 – Remove Creases From Your T-shirt
Place your t-shirt on the heat press and set the time to 6 seconds to ensure you have removed all the creases, so you have an even and accurate view of where your design will go. If you leave creases, they will show in the design. (Just so you know, transfers by Innotex don’t need pre-pressing)! If your heat press still hasn’t been set up to the temperature at this point, don’t worry. Since you’re just removing creases, you just need to set the time and start the machine.
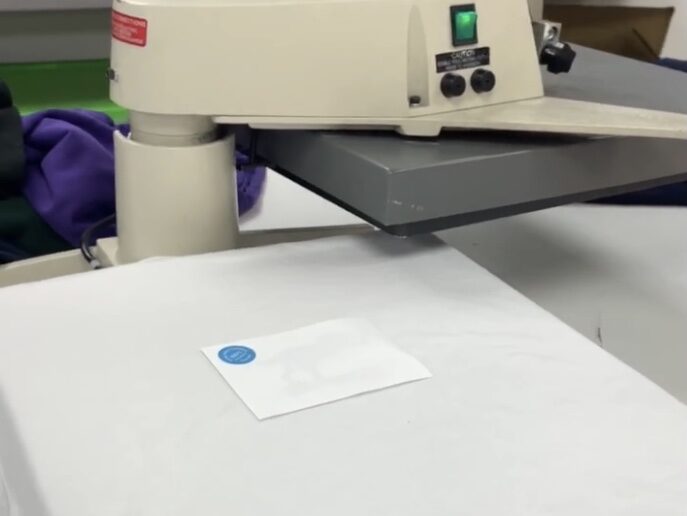
Step 6 – Place Your Design On Your T-shirt
Now you need to identify where you intend to have your design. If you’re using a light-coloured garment, place your design face down. If your garment is dark-coloured, place your design face up. This will make sure the final result is not a mirror image. Check out our blog
Simply double-check time and temperature on your heat press and once you’re happy, hit the start button. The machine will begin the process and start to transfer the design from the paper to the t-shirt. Once this process is complete, remove the t-shirt from the heat press and leave it on a flat surface.
Step 8 – Remove The Transfer Paper
Since we’re working with a hot peel transfer, you can slowly peel the transfer paper immediately. Just be careful as it may be hot to the touch! Peel from one corner and pull away from yourself. Don’t peel towards yourself simply because it’ll restrict your view.
And there you have the final product. Hopefully our visual guides gave you an idea of how to get your own t-shirt business started, or even style your wardrobe. Now that you know how to use a heat press machine for t-shirt printing, it’s time to get your designs started!
Get Your Personalised T-shirt Transfers
Are you looking to avoid the hassle of printing the design yourself? Innotex Transfers produce ready-to-press transfers (and helps you cut steps). Don’t hesitate to email us at sales@innotextransfers.com or call us at 020 3617 8710.