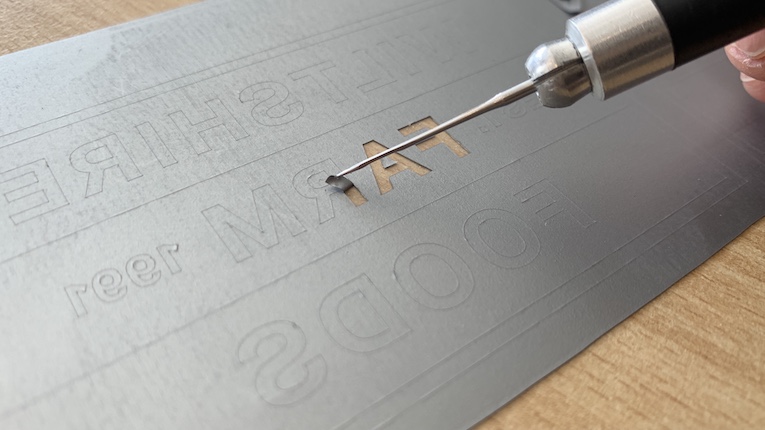
Weeding vinyl is known to be a tedious task, but it doesn’t have to be. If you use the right tools and correct methods, you can save yourself a lot more time. The job will last a lot longer without our handy tips!
This blog will cover the best tricks and tips Innotex Transfers has identified over the years. We’ll also cover the different types of applications vinyl can be used on. Hopefully, you can work on our weeding vinyl hacks and make the task more straightforward in the future.
What Is Weeding Vinyl?
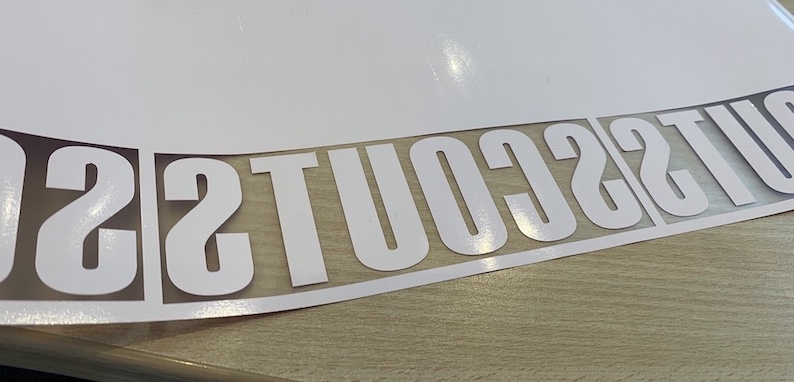
When you print on vinyl, you’ll need to remove the excess vinyl where the cut lines have been made on your design. The software transfers the path lines on the design into cut lines so when it is printed, the design can be weeded.
Say, for example, you’ve printed out text. If you’re weeding vinyl letters, you would need to remove the vinyl from the gaps between letters like “A” “O” “R” etc. Weeding allows you to safely remove the unwanted vinyl without damaging the full design.
How Do You Start Vinyl Weeding?
Once you have printed the design on the vinyl, you can begin to weed. If your design is a lot smaller than the vinyl sheet, first cut the design out and make the sheet smaller. We recommend this so you have less vinyl to work with. Once you have decided on the proportions, it’s time to get digging!
Start with the big pieces of vinyl, such as the outside of the design. Then, begin working your way inwards until you get to the intricate details. All you need to do is dig at the piece you want to remove and lift the tool up to pull the vinyl.
And that’s generally how to weed vinyl!
Need more tips like these? Read our Tips for Avoiding Dye Migration
Why Is Vinyl Weeding So Hard?
Vinyl weeding is challenging because it can be very time-consuming. This is quite tedious, especially when it comes to the finer details in designs (i.e. weeding small vinyl letters). When working with these details, in some cases, you might accidentally pick part of the design you didn’t need removing. This ends up stretching the vinyl from the design. Moreover, there’s no way to put the vinyl back into position once it’s been pulled at. You need to be very careful!
If you’re weeding for an excessive amount of time, you won’t be as steady as when you started. At Innotex Transfers, we have other solutions when creating your custom designs, using more efficient methods of printing. However, if this is a task you’ll be dabbling in a lot, it will become very tiresome over time. If you’re working at a smaller scale and have time to spare, take a break in between working with finer details to compose yourself. This prevents you from rushing the task. this is where the more handy tools come in to help you with precision.
What Do I Need to Make Vinyl Weeding Easier?
This tip isn’t as common, however, we would recommend this as a hack to save you time figuring out what you need and don’t need. While working on your design, it’s efficient to print out the original design in front of you to use as a guide. Looking at your design will help you identify where you need to remove details with your tools!
Depending on the colour of vinyl you’re working with, sometimes the cut lines can be difficult to see. To solve this problem, it’s best to have a decent light source to direct toward the vinyl. We recommend a light pad for vinyl weeding. This will shine up the design and make the cut lines more visible. As a result, you can correctly weed instead of accidentally pulling on the vinyl that needs to remain.
What Tools Will Help Me Weed Vinyl?
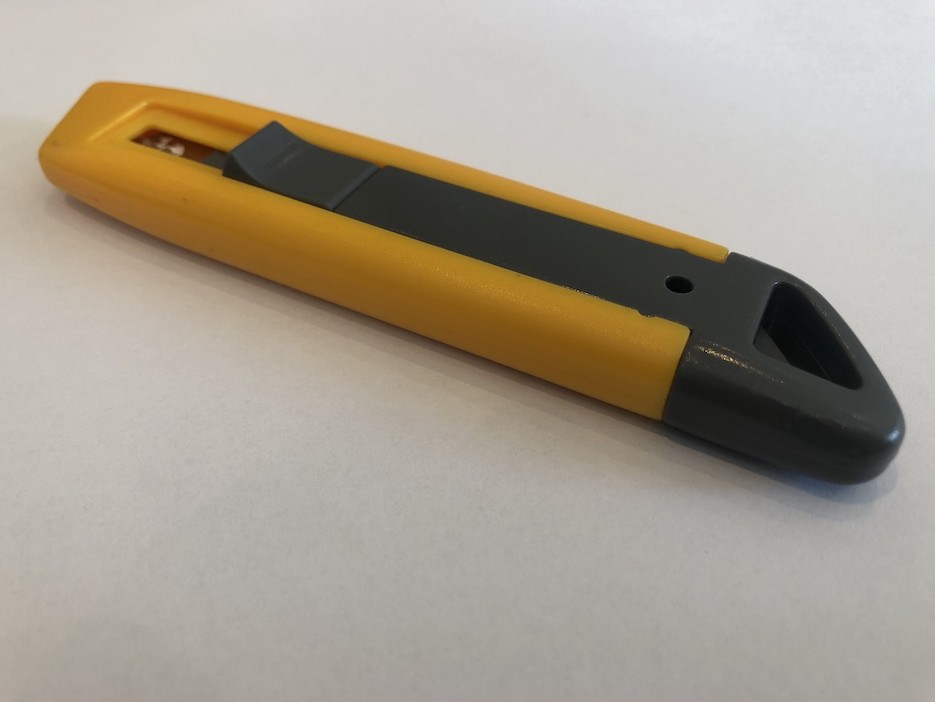
We covered this earlier, but it’s not a necessary step for weeding the vinyl. However, we recommend you get yourself equipped with a craft knife and cut around the design. You’ll leave ample space to still work with by doing this. Just grab a craft knife and slice the paper to give yourself a smaller piece of paper to work with.
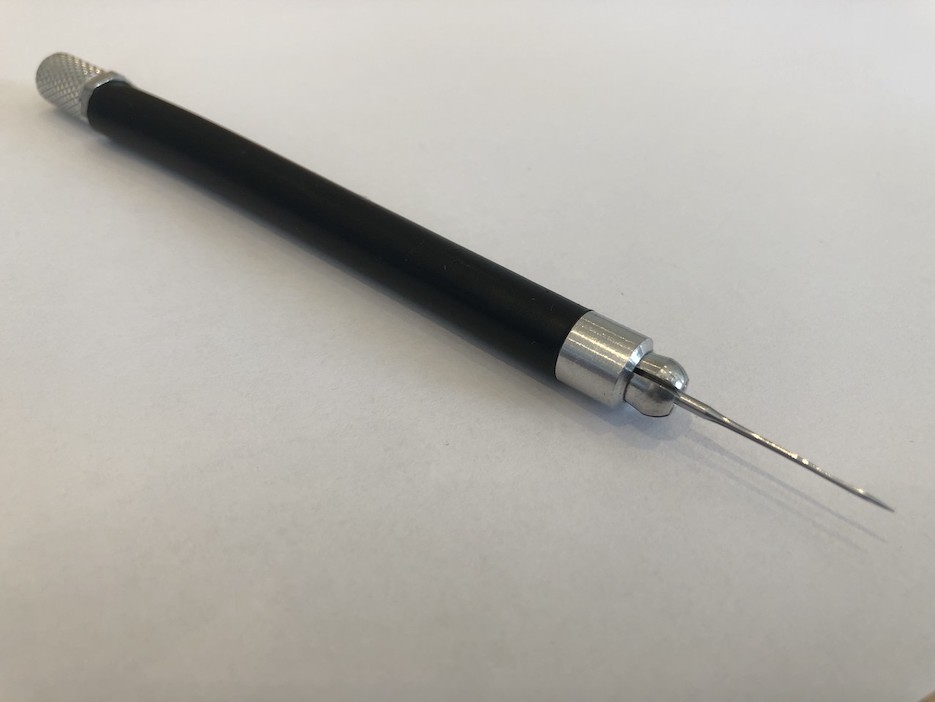
So what is the best tool for vinyl weeding? Mainly a craft tool (also known as a vinyl picker) is used to pick at the vinyl. This is the easiest way to pick at the sheet, as it comes with a sharp end that targets the vinyl. When you’re pulling at the vinyl, it should easily grip onto the sharp end of the tool. There are different types of craft tools you can use, such as a standard picker or branded tools like ‘circuit’ – they all work the same. It won’t matter how much you’ve spent on it, at the end of the day, you’ll need to weed the rest!
Working on Vinyl Transfers
Generally, when weeding vinyl, it’s common to let the vinyl build up as you’re going along. However, if you’re working with adhesive vinyl, we highly recommend cutting off the excess vinyl before it begins to build up. If the vinyl sticks back to your design, you’ll end up ruining it by pulling off the backing. When you’re weeding intricate details, it’s best to put the waste away to collect the sticky weeded pieces. If you’re sticking to standard vinyl, the excess vinyl won’t stick onto the backing if it gets in contact with it. Regardless. it may be more convenient and give you more focus if you cut off excess vinyl as it starts to pile up.
The downside of working with vinyl will always remain – it’ll be a taxing task when you’re working with multiple designs. As a one off task, it’s not too bad, however, we recommend other forms of printing, especially for custom garment designs.
Check out our blog on ‘Heat Transfers for Clothing Explained’.
Alternate to Heat Transfer Vinyl Sheets

At Innotex Transfers, we work with rapid ink transfer methods – if you’re looking to go for another printing procedure or are simply looking for someone to do all the hard work for you, we can provide you with custom ready-to-press transfers. It is less time-consuming and easier to process than vinyl transfers. Just send us an email at sales@innotextransfers.com to our business team with your design (in a vector format), the dimensions, the number of prints you’d like and we can generate a unique quote!
